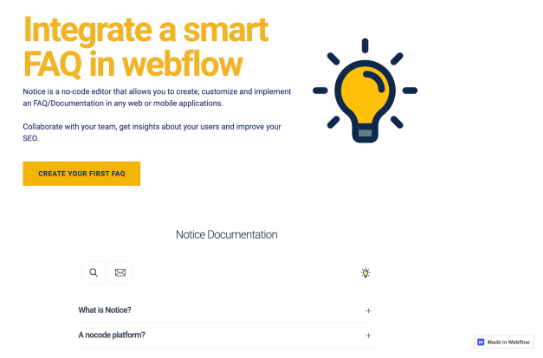
💅 ウェブフロー
How to create an FAQ on Webflow?
始めるには、ここにWebflowでFAQを作成する方法を説明する小さなビデオチュートリアルがあります。 UXは少し変わっていますが、手順は同じです ;).
こちらで独自の例をチェックできます。
リマインダー:Webflowを使用するには有料のサブスクリプションが必要です 💰
Create an account and FAQ on Notice
ここをクリックしてサインアップまたはログインしてください。 次に、最初のプロジェクトを作成するように求められます。 単にFAQを選択してください。
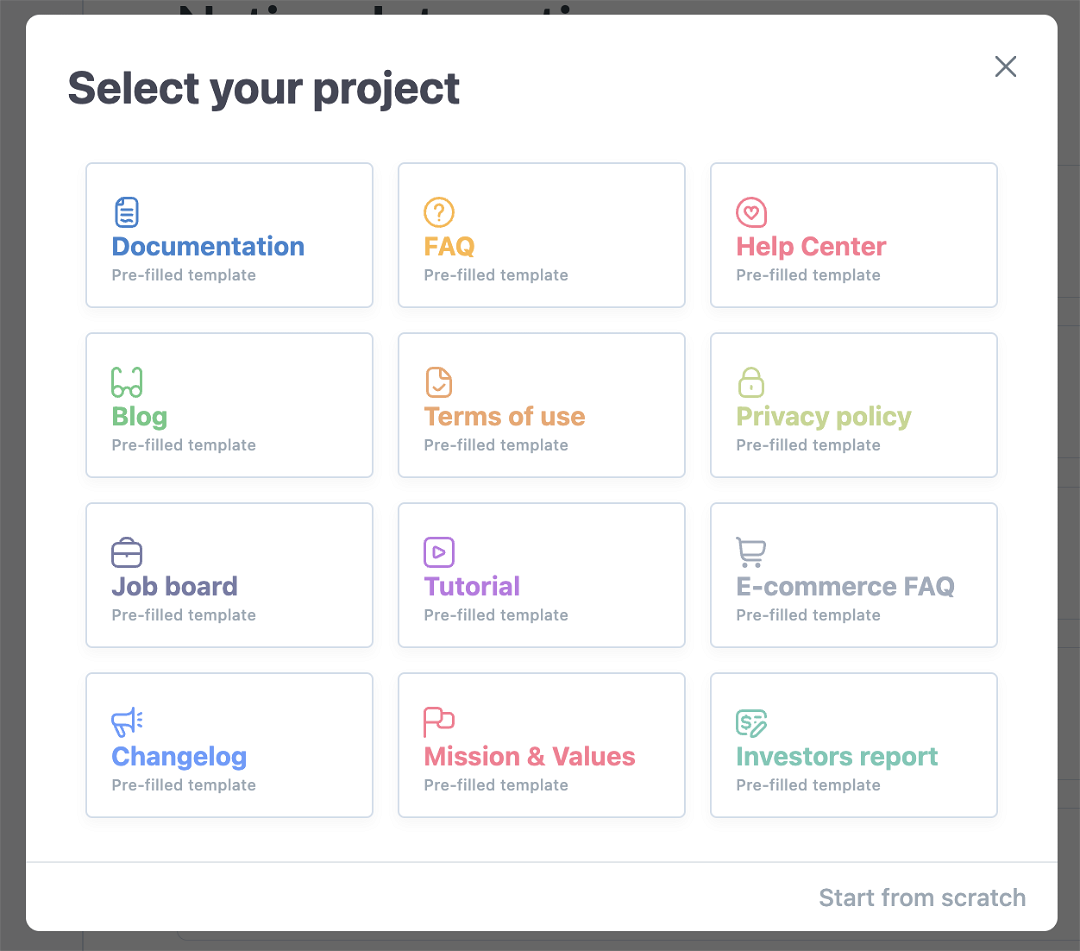
今、最初の記事にいくつかのコンテンツを入力し、FAQをカスタマイズできます。
You can now enter some content in your first article and customize your FAQ.
Notice works just like any other editor such as Google Docs or Notion. You can edit, delete, and find extra functions by selecting the text. Drag-and-drop elements for easy organization.
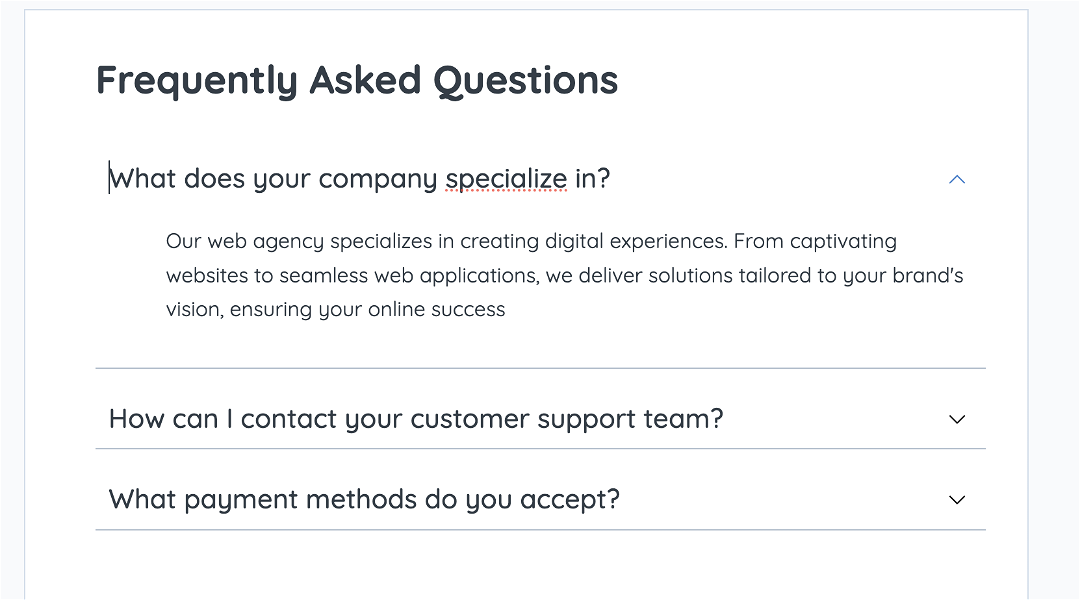
Deploy your FAQ
ナビゲーションバーの「統合」アイコンをクリックします 🚀

次に、Webflowを選択し、最初のコードスニペットを貼り付けます。
Then select Webflow and paste the first snippet of code.
Webflow
Webflow settings
Webflowアカウントにログインし、プロジェクト設定に移動し、「カスタムコード」タブを見つけます。
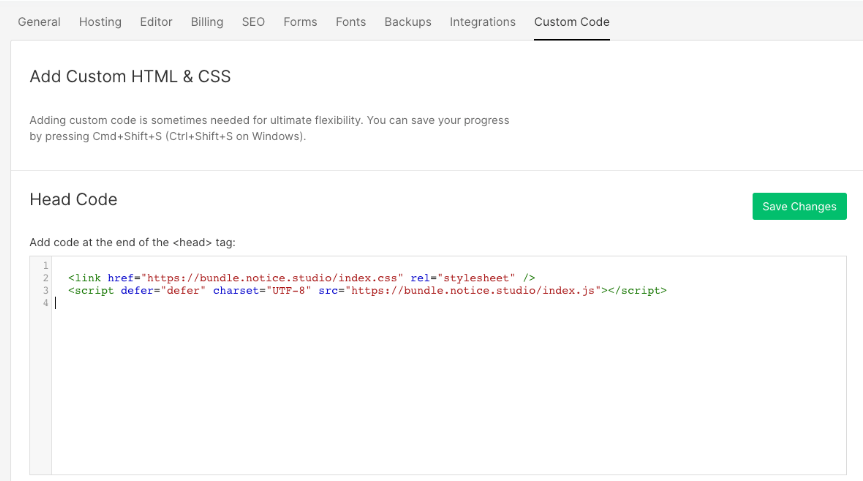
ここで最初のコードスニペットをコピー/貼り付けできます。 「変更を保存」をクリックするのを忘れないでください。
Webflowエディター
Webflow editor
次に、Webflowエディターに移動し、FAQを配置したい場所を選択します。 それをクリックしてから、「埋め込みブロック」を追加します。
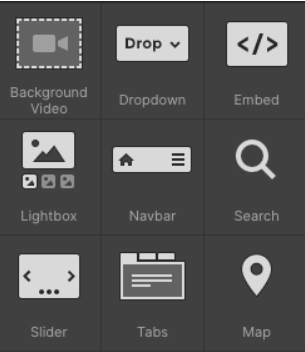
重要:FAQは親要素に合わせて調整されます。つまり、親要素がページの全幅を取らない場合、FAQも取りません!
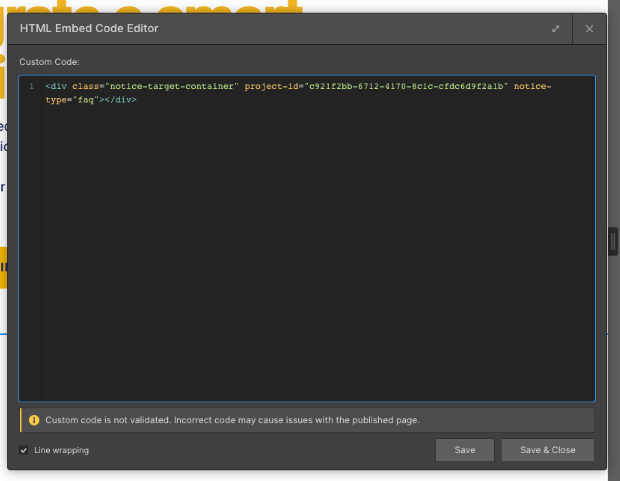
埋め込みコードで、2番目のスニペットをコピーして貼り付けます。
In the Embed code, copy paste the second snippet.
おめでとう 🎉
完了しました。
